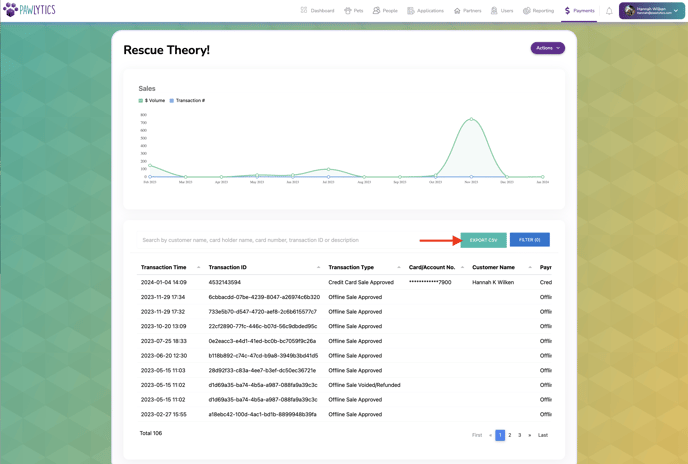
Quickly and easily process donations through the donation widget on your website, or internally within Pawlytics.
Table of Contents
How To Process A Credit Card Payment Through The Pawlytics Donation Widget
How To Process A Credit Card Payment Within Pawlytics
How To Process An Offline Cash/Check Within Pawlytics
How To Process A Credit Card Payment Through The Pawlytics Donation Widget
-
Go to the website where the rescue's donation box has been embedded.
- Choose the donation amount, either from the preset options or by typing in the custom amount.
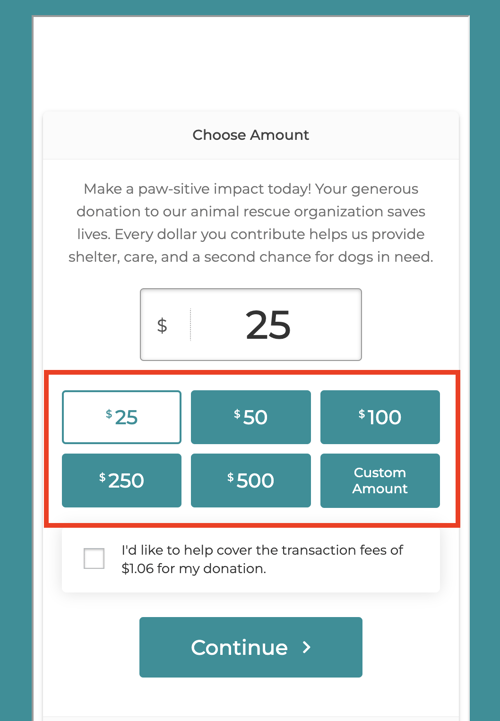
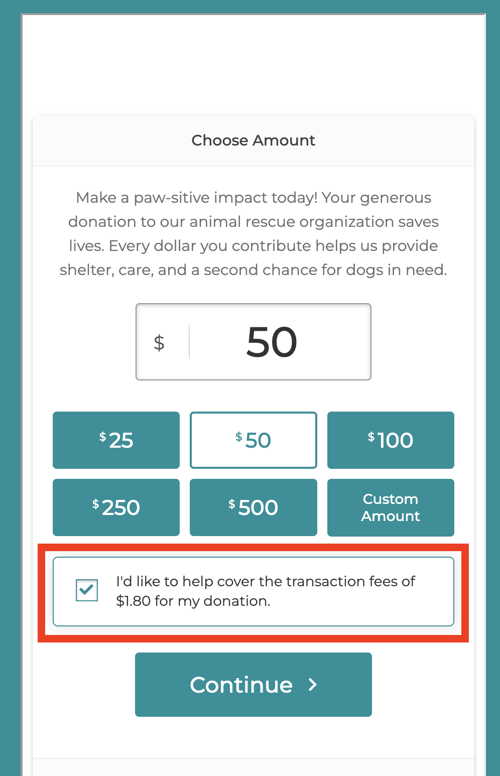
- Checking the box will have your donor cover the transaction fee and then select continue.
- Have donors fill in their information including:
- First & Last Name
- Email to Send Receipt (Card Holder's Email)
- (Optional) Comment
- Card Holder Name
- Card Number
- Card Expiration Date
- Card Security Code
- Card Zip Code
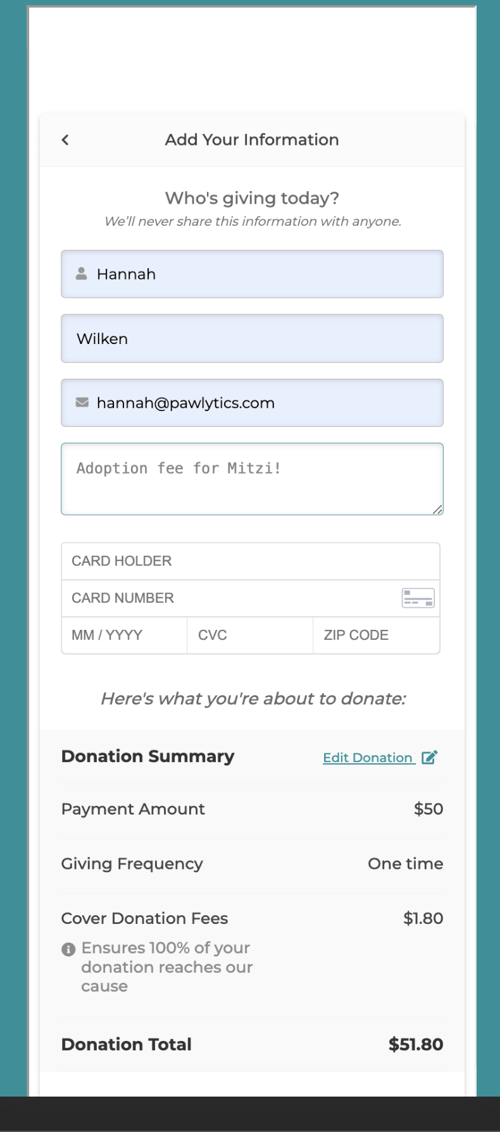
- After verifying the amount being processed, click the "Donate Now" Button
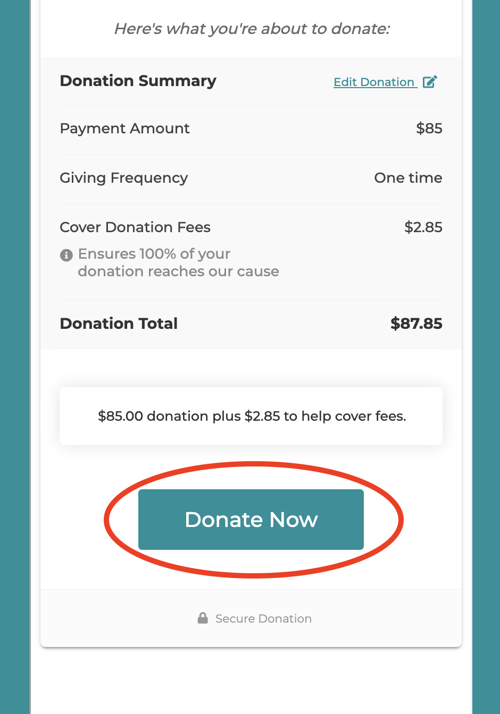
- After the donation has finished processing, they will see a receipt they can download, as well as receive a donation receipt with your 501c3 number.
Immediately downloadable receipt: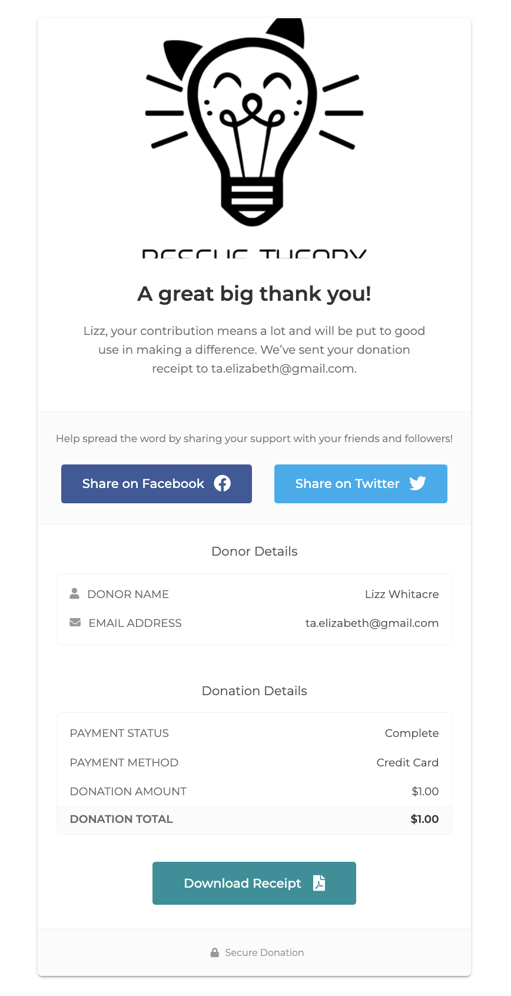
Email Donation Receipt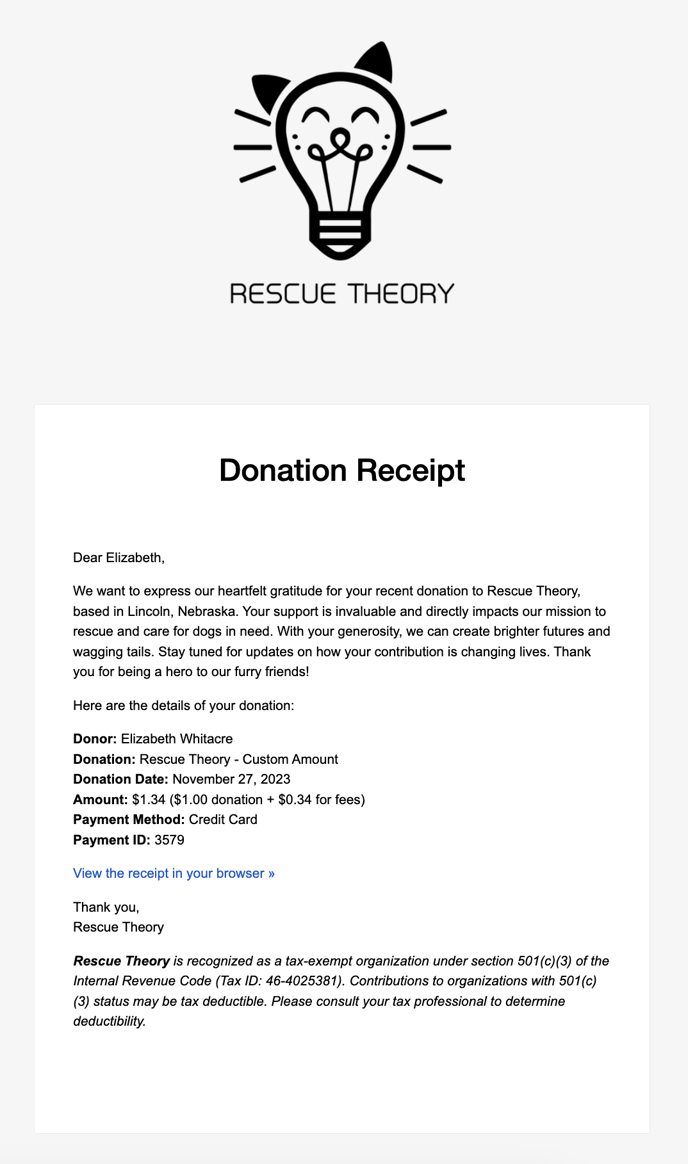
How To Process A Credit Card Payment Within Pawlytics
🚨 You must have an admin-level permission level to process donations within Pawlytics.
- Once logged into Pawlytics, navigate to the Payments header.
- Click on the purple “Actions” button in the top right and select “Process Credit Card Payment”
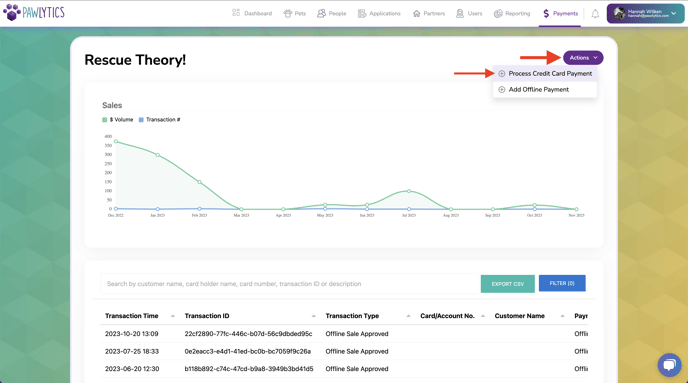
- Enter in the details of the purchase including:
- Amount
- Card Holder Name
- Card Number
- Card Expiration Date
- Card Security Code
- Email to Send Receipt (Card Holder's Email)
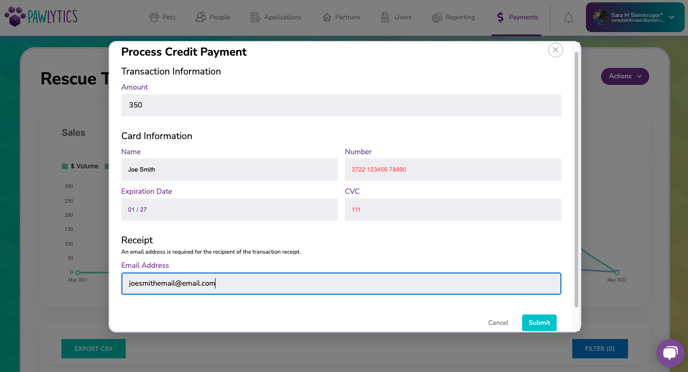
- Click the light blue “Submit” button ONE TIME. Clicking this button again will cause your payment to run twice.

- You will see a Success modal once the payment has been processed.
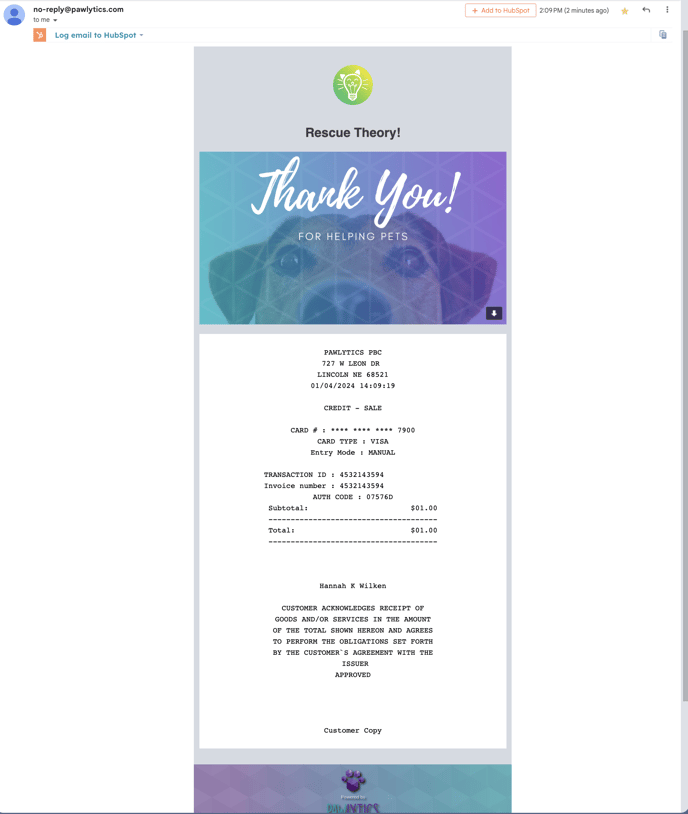
- A receipt will be sent to the email you entered immediately. The receipt will have your org’s info on it. Click here to learn how to customize your receipt!
How To Process An Offline Cash/Check/Other Within Pawlytics
🚨 You must have an admin-level permission level to process donations within Pawlytics.
This process will allow you to track offline cash/check payments. Please note tracking offline cash/check payments will not send money to your bank account.
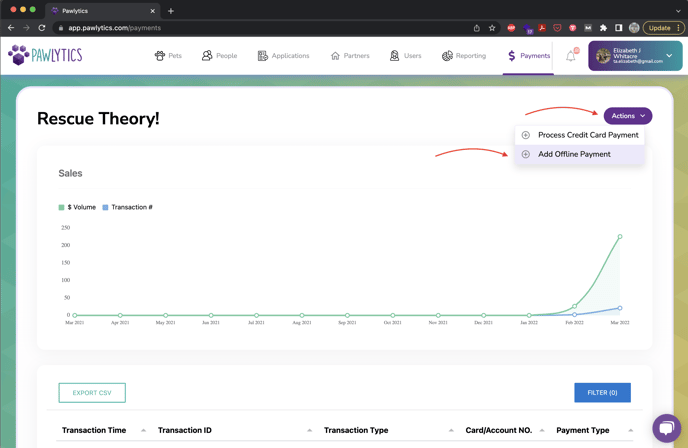
- Click on the purple “Actions” button in the top right and select “Add Offline Payment”
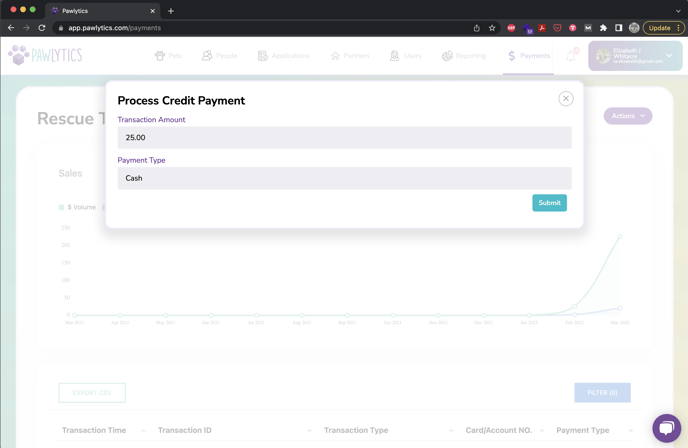
- Enter the details of the payment including:
-
- Amount
- Type of Offline Payment
Processed payments, made through the website widget or manually through Pawlytics, will be recorded in the table in the payments section of Pawlytics. The transaction number, total, and more can be exported as a CSV to easily upload into your accounting software.
