![Pawlytics_Paw-1.png]](https://learn.pawlytics.com/hs-fs/hubfs/Pawlytics_Paw-1.png?height=40&name=Pawlytics_Paw-1.png)
The first time setting up your donation widget is going to involve a little bit of extra set up work, but have no fear! With this step-by-step guide, you'll fly through and be ready to start collecting payments right from your website.
Basic Setup Steps
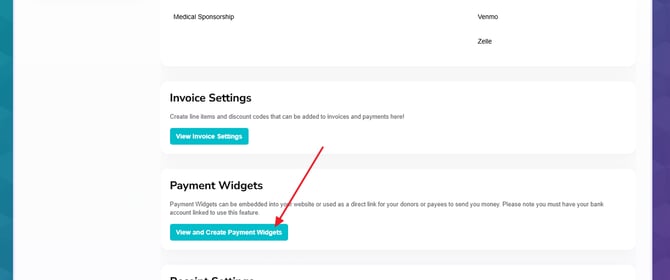
First, you must be an admin level user with access to organization settings and click to the Financials tab. Scroll down and click "View and Create Payment Widgets"
To prepare for creating your first payment widget, you'll first need to add the specific amounts that you want to display:
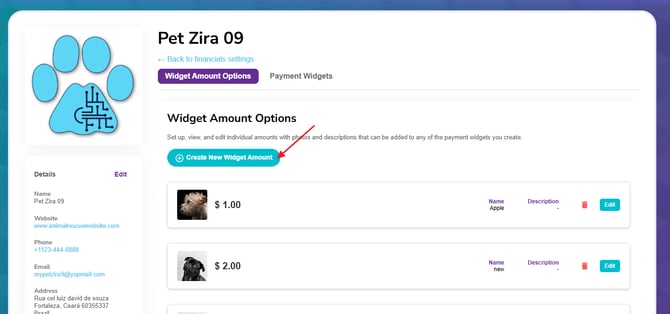
Here, the only thing that is required to fill out is the amount. Optionally, you can also give the amount a title, a description, and a photo:
(Once created, these can be used multiple times across any widget so feel free to be as specific or general as you like!)
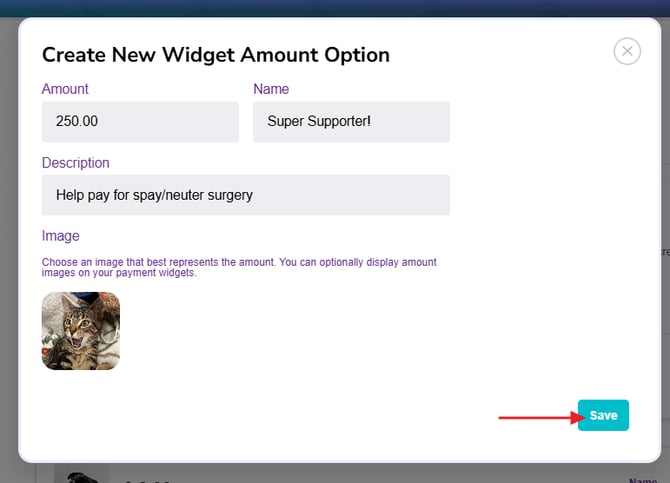
Click save and repeat the process until you've added all the options you want to include in your first widget. The amounts will automatically order themselves from lowest to highest.
Time to Create Your Widget!
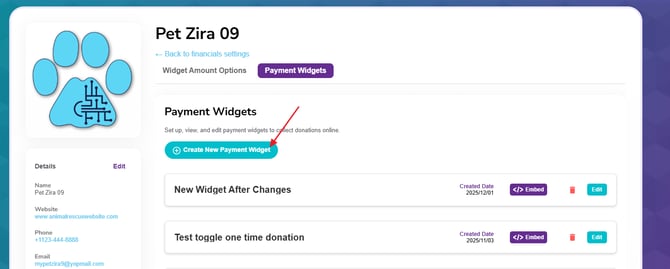
Navigate to the Payment Widgets tab and click to Create New Payment Widget
The Widget Name and Revenue Subtype are internal to your team only. Neither of these will be displayed to your donors:
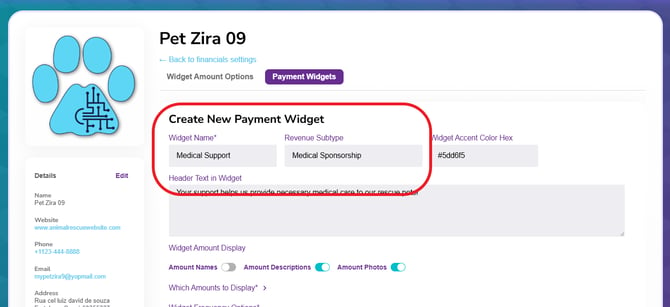
Note: If you don't see the appropriate subtype for the type of payments you want to collect through this widget, you'll need to create it first inside your financial settings.
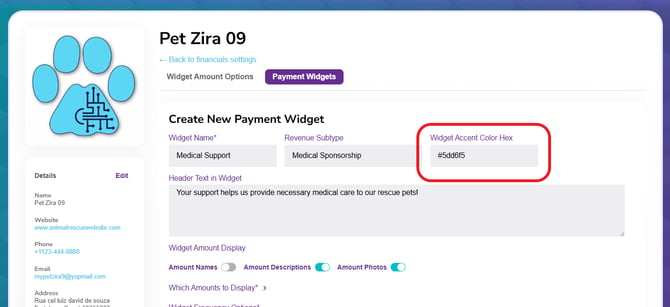
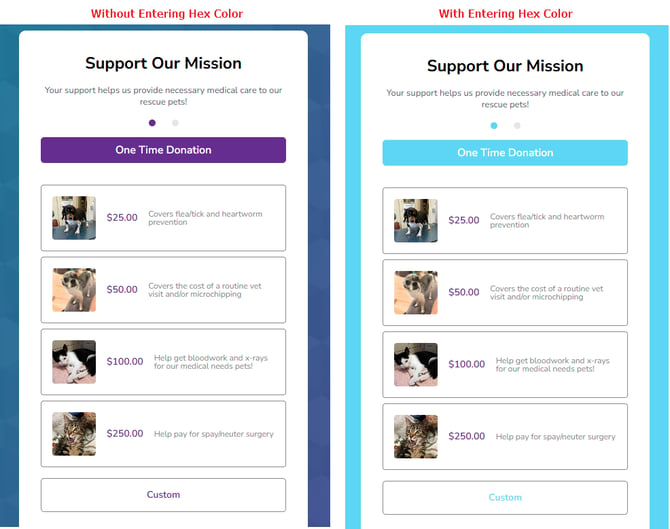
The Accent Color is if you'd like to customize your widget to match your rescue's branding. This must be entered as a Hex value. If you're unsure, you can always look up a color picker online!
Here is an example of where your accent colors would appear
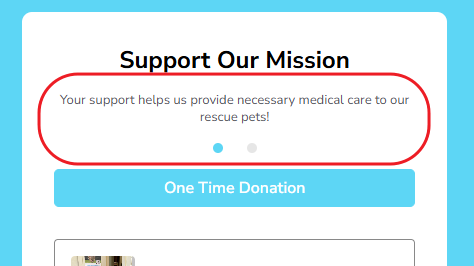
The Header text will appear at the top of the widget as either a welcome message or information on the purpose for the donations
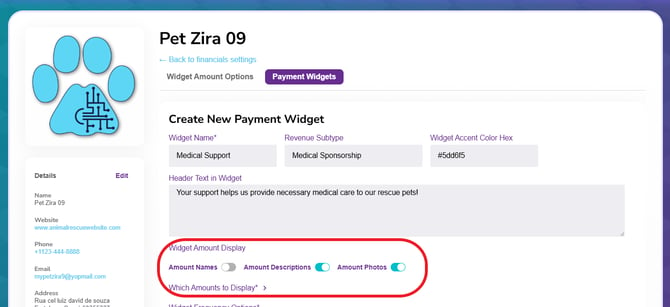
The Widget Amount Display is how much of the amount information do you want to show. Remember the information you could fill out when creating the amounts? Here is where you can pick and choose how much of that you want to display
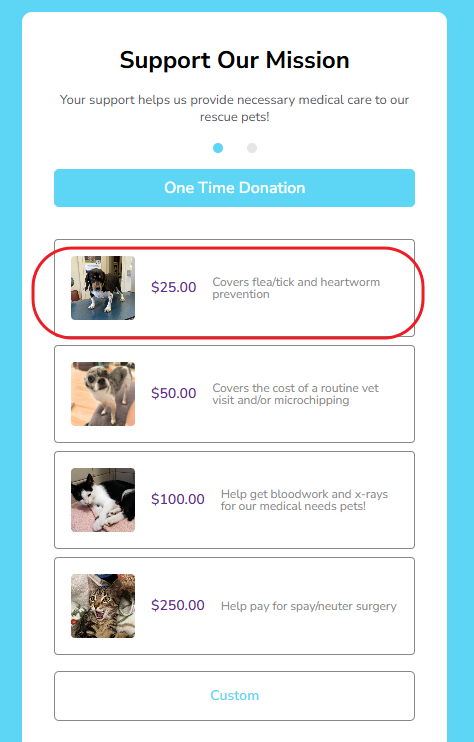
Now you'll select Which Amounts to Display. This is a toggle feature because once your rescue gets going on making as many widgets as you'd like, your list of amounts is going to get pretty large! Click the toggle next to this section to show your full list of amounts (ordered lowest to highest for easy selection), and click to turn on the amounts you'd like to display:
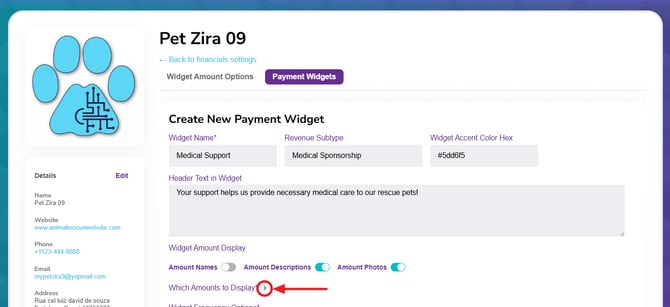
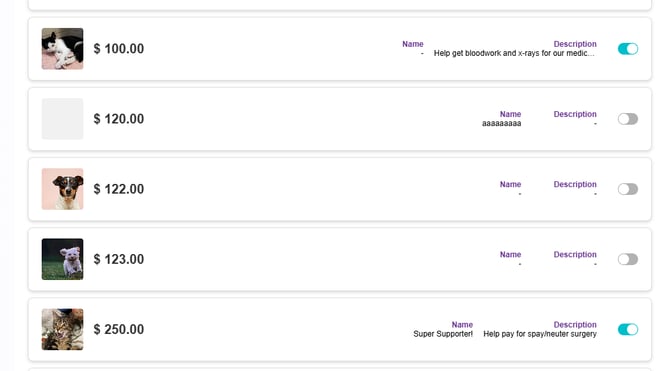
Once you've selected the amounts you need, you can click the toggle again to collapse the list while you finish up the rest of the payment widget 😊
Want to give your donors the option to become monthly sponsors? By default, the widget will be checked for One Time Donation. Click to toggle on if you want to give the option for Monthly Donations or to turn off One Time and just be Monthly:
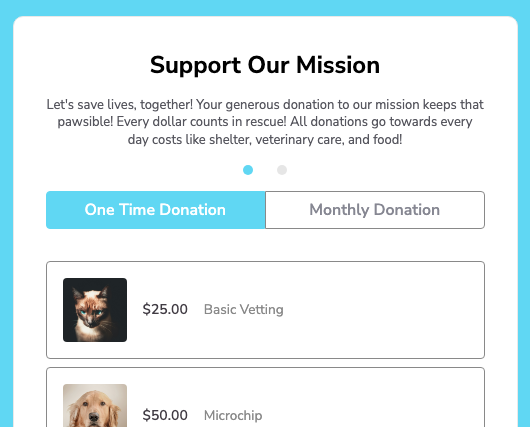
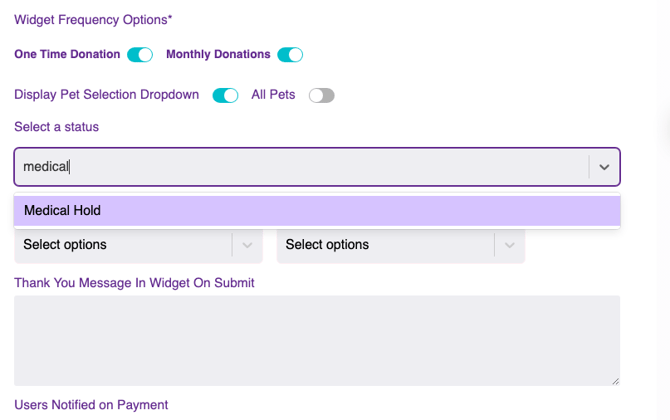
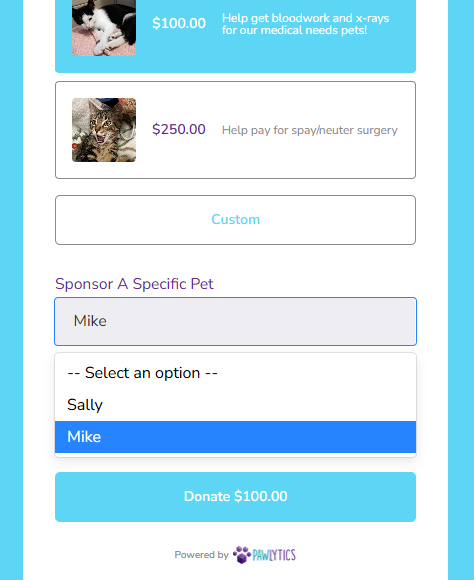
Display Pet Selection is how you can give donors the option to link their payment to a specific pet. You can choose to display all pets in your Pawlytics account, or limit a person's selection based on status, species, or age range.
Lastly you can set a Thank You Message to display inside the widget after someone submits their payment and select if you'd like any Users to be Notified when a payment is made.
Hit Save and your widget is ready for action!
Sharing Your Widget
Widgets are listed by order of creation
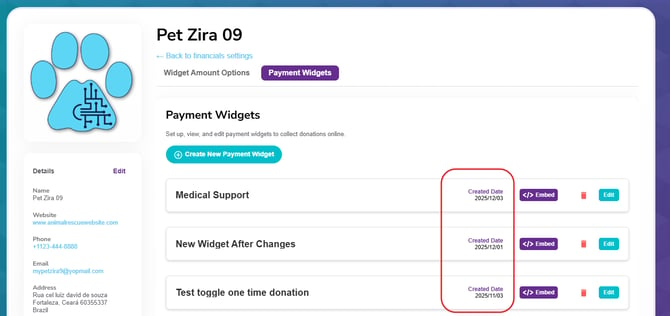
Click the purple </> Embed button next to the widget you'd like to share
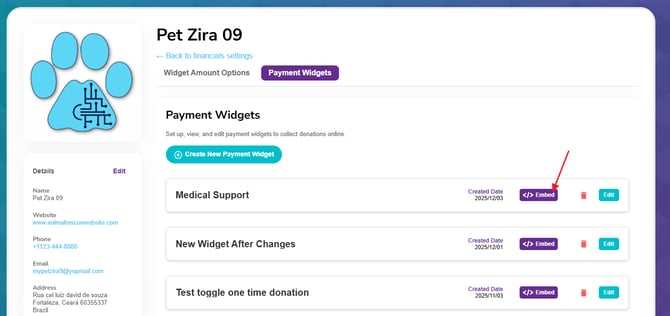
If your rescue does not have a website to embed the widget on, click the Copy URL button to share a link directly with donors:
💡You can also run this link through platforms like bitly or tinyurl to make it more shareable, or run it through a free QR code generator!
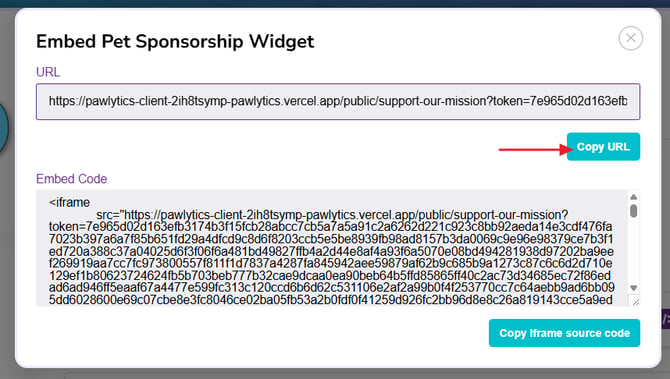
If you do have a website and would like to sit the form directly on one of your own pages, click the Copy Iframe source code button.
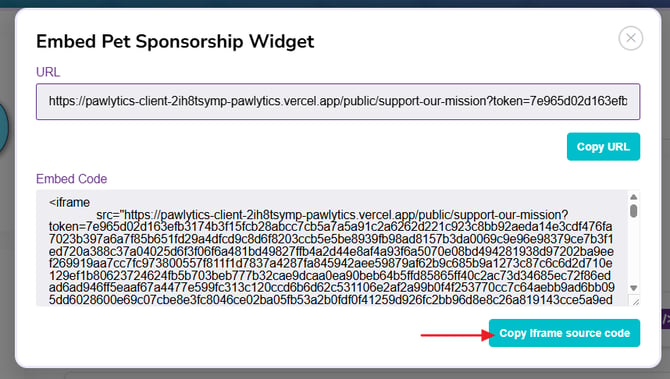
If you're the webmaster, you already know what to do here, but if not, forward this code to the person in charge of making updates to your website and they'll handle it from there 😉.
Click here to see an example receipt and to learn about our donor portal, Pawthority: What is Pawthority?
Other questions/concerns? Check out our FAQ page here: FAQ About Payments/Financials